

This is how I process the local clays that I dig. Most of the clays around my house are sandy and I remove the sand and other stuff like leaves and roots.

I should have added a bit more on the end of this video as I did screen two more times down to 100 microns and I did dump alot of sand out of the bottom of the buckets. Once the slurry is about milk thin, the sand and silt will settle to the bottom quickly (about 10 minutes). At that point it’s easy to pour the clay water off the top. I may actually have to add a bit of the sand back into this batch. Many of the clays I’ve found around my house have high drying shrinkage so that it’s hard to work with them if I remove all the sand. However, it’s easier to have a consistent clay if I remove all the sand and then add back in the percentage I want.

The stuff I saved to potentially add back went through a 100 micron screen so it’s pretty fine and won’t make the clay feel gritty.
The first photo is the clay slurry after it’s processed. I’ll let this sit a bit and see if it will settle on its own. If it doesn’t, I’ll add a bit of white vinegar to Epsom salts.
The second photo is the lumps of clay I got out of the sieve squash flat for faster drying.
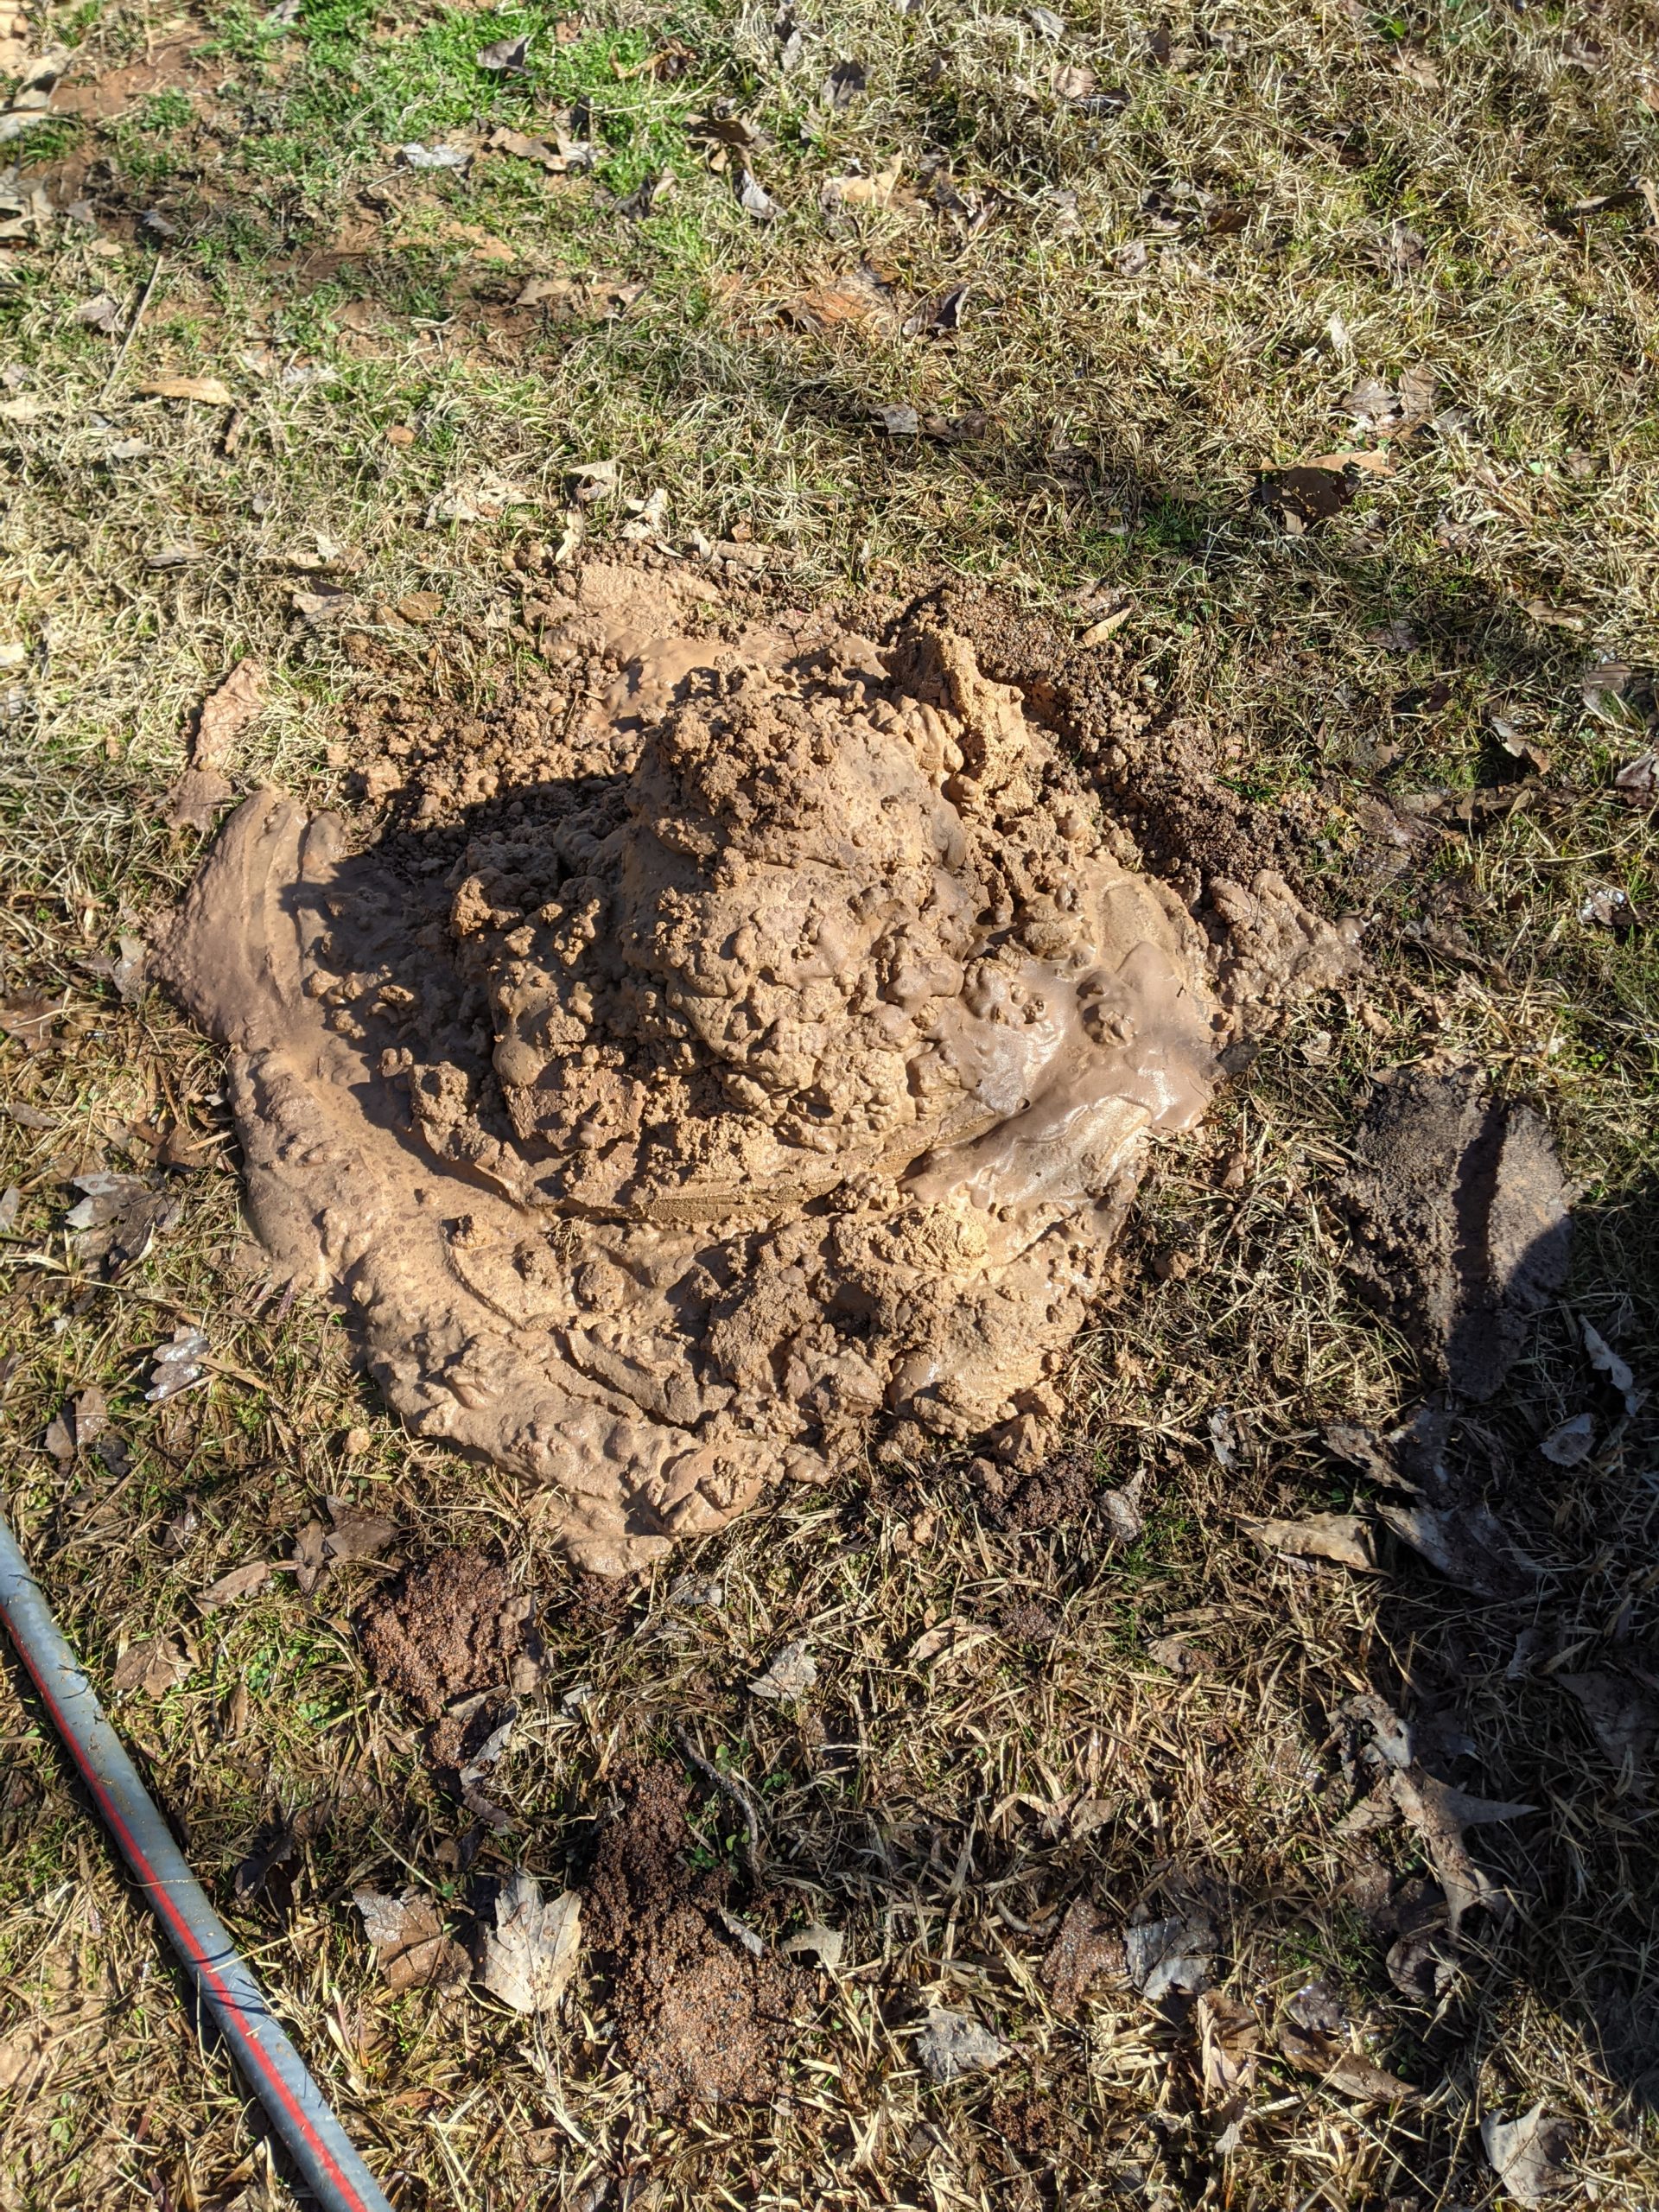
And the last photo is all the stuff I removed. This was probably 1/4 to 1/3 of the total. Not great but not the worst I’ve tested. I was hoping it would be more clay and less sand but that’s pretty common for around my house.